10 Baby Food Hacks
10 baby food hacks to make introducing solids to your little one as easy and stress-free as possible.
I’ve done a few food hack posts before, but this is the first baby edition! I’ve been navigating the world of feeding my daughter for 9 months now, and I’ve gathered a lot of tips and tricks along the way. If you’re just getting started and feeling overwhelmed, I hope these will be helpful to you!

Don’t forget to pre-order the Baby HealthNut Cookbook, which is jam packed with recipes for your little one, from their very first eats to a healthy smash cake to enjoy on their birthday!
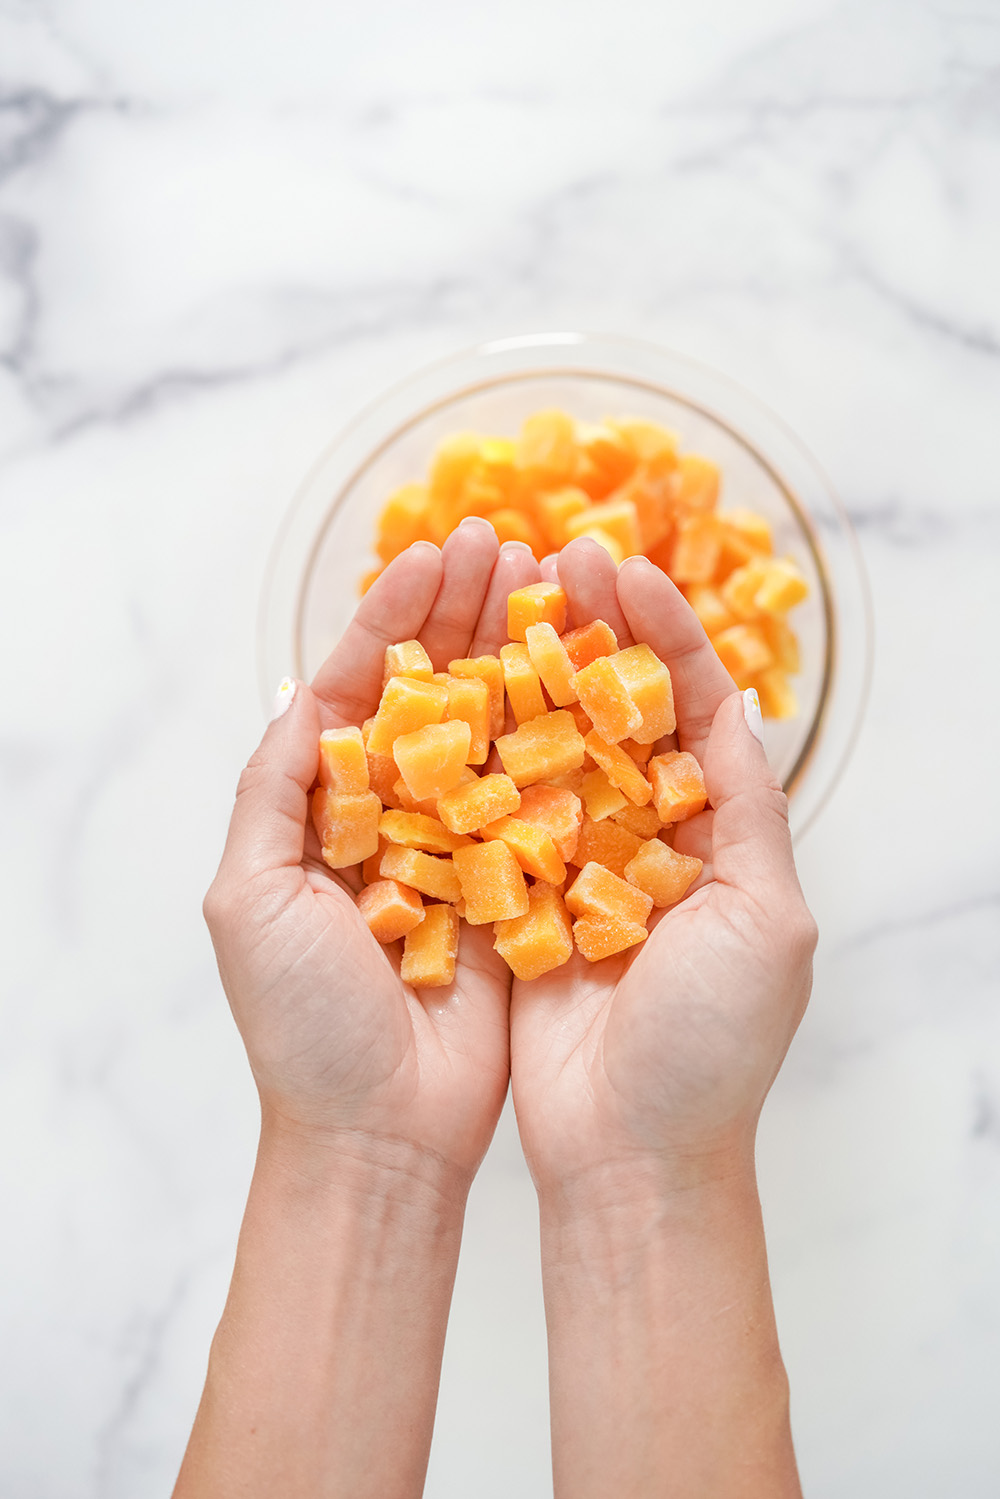
1. Buy peeled and chopped frozen vegetables
Buying frozen veggies that are already peeled and chopped is such a time saver! It takes out so much of the hard work. All you have to do is boil, steam or cook them in the oven, and then you can mash them or blend them up, or even serve to your baby as finger foods. This hack is especially helpful when it comes to veggies like butternut squash which are a little more labour-intensive to prep.
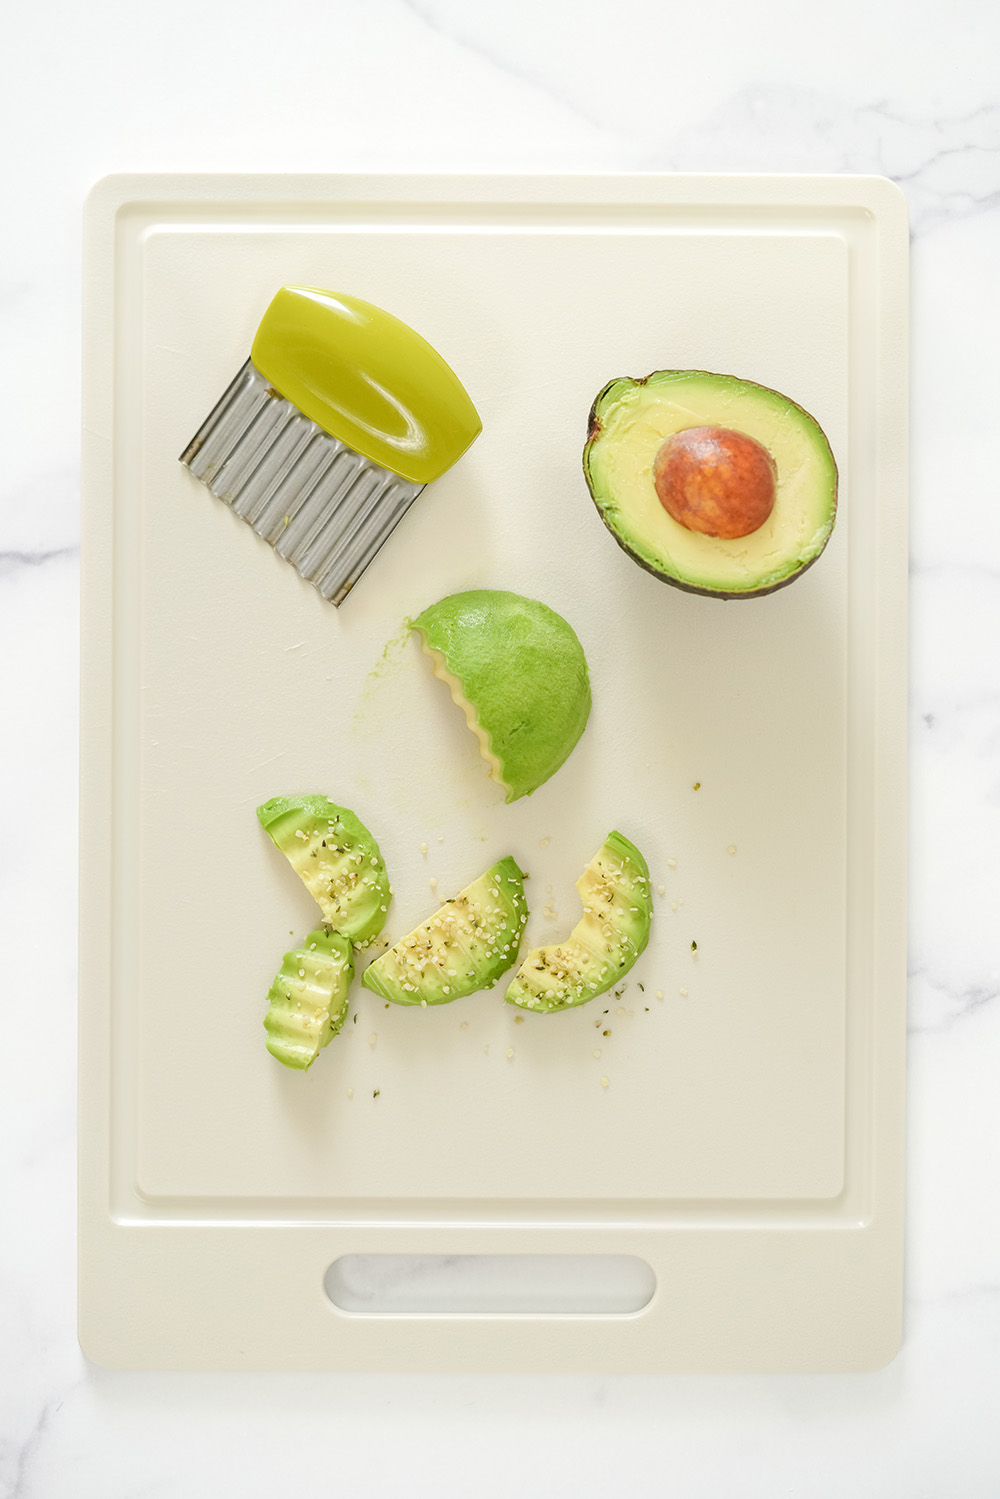
2. Use a crinkle cutter
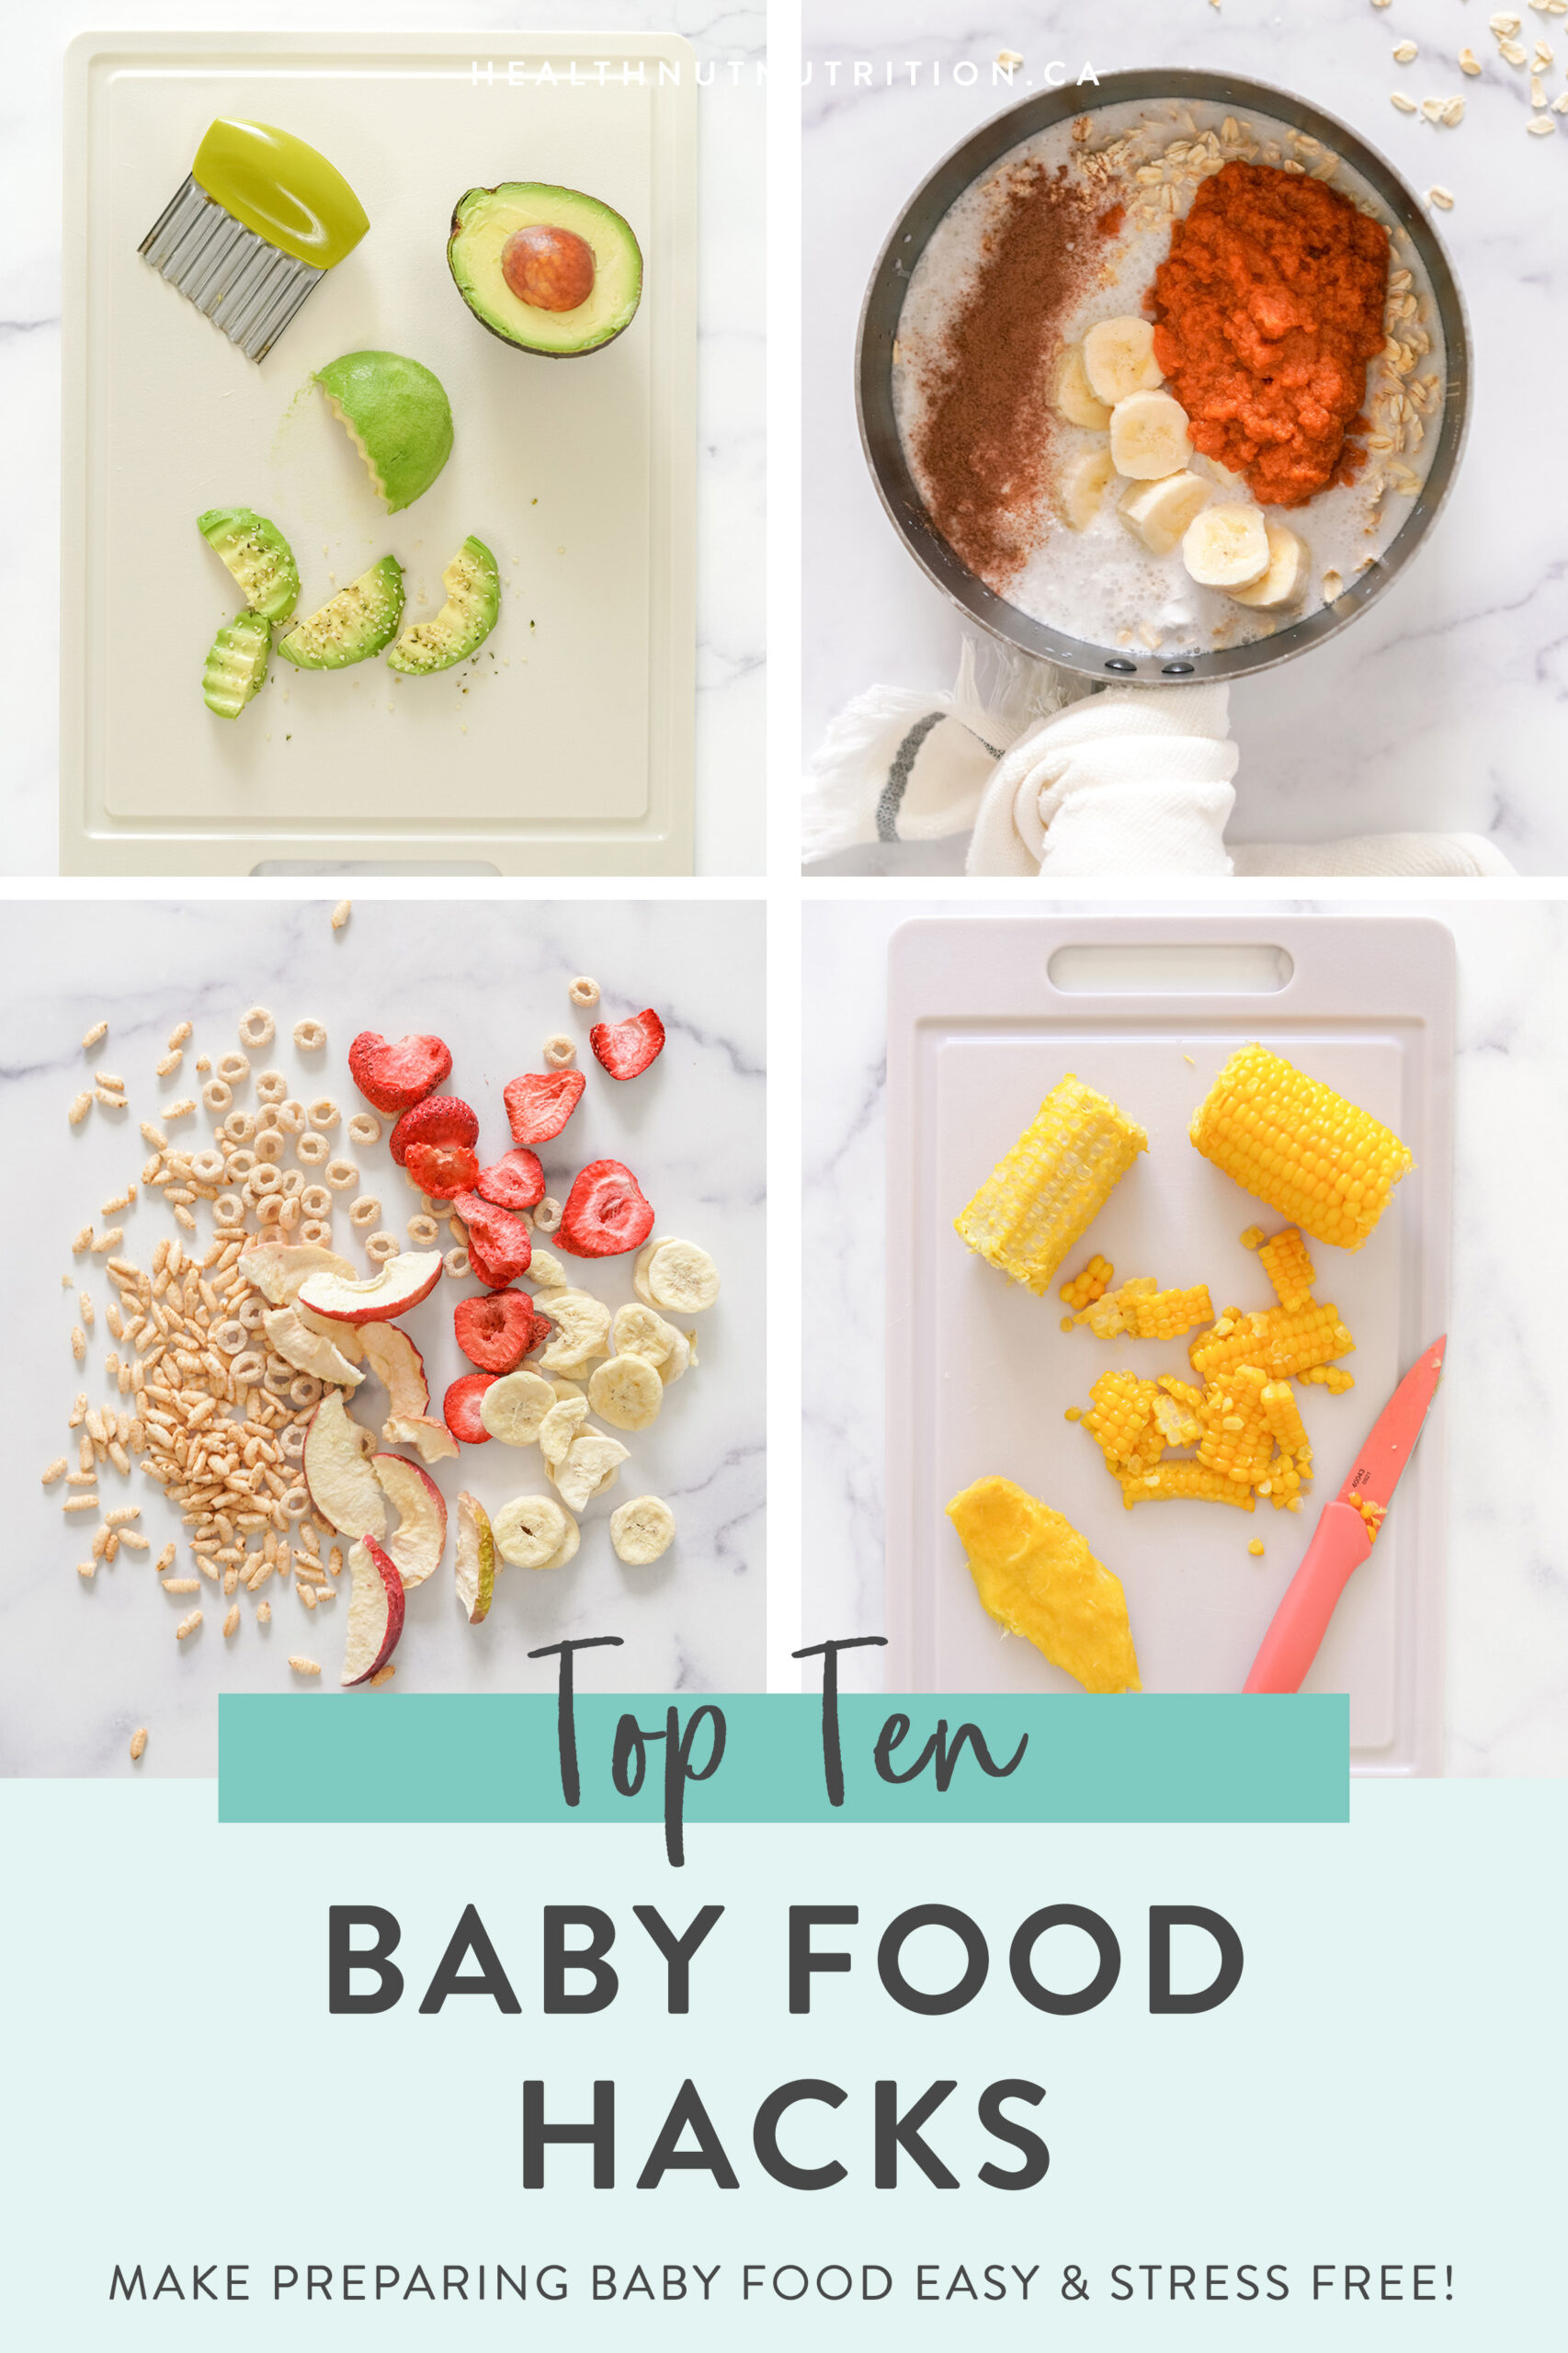
A crinkle cutter isn’t a baby food tool necessarily . It’s just a cutter that cuts things into a crinkle shape, kind of like when you get crinkle chips. But it works wonders for baby food because the crinkle shape makes it much easier for little hands to grasp otherwise slippery foods like banana or avocado! I love sprinkling crinkle cut avocado with hemp heart seeds for some added nutrients and extra non slip support.
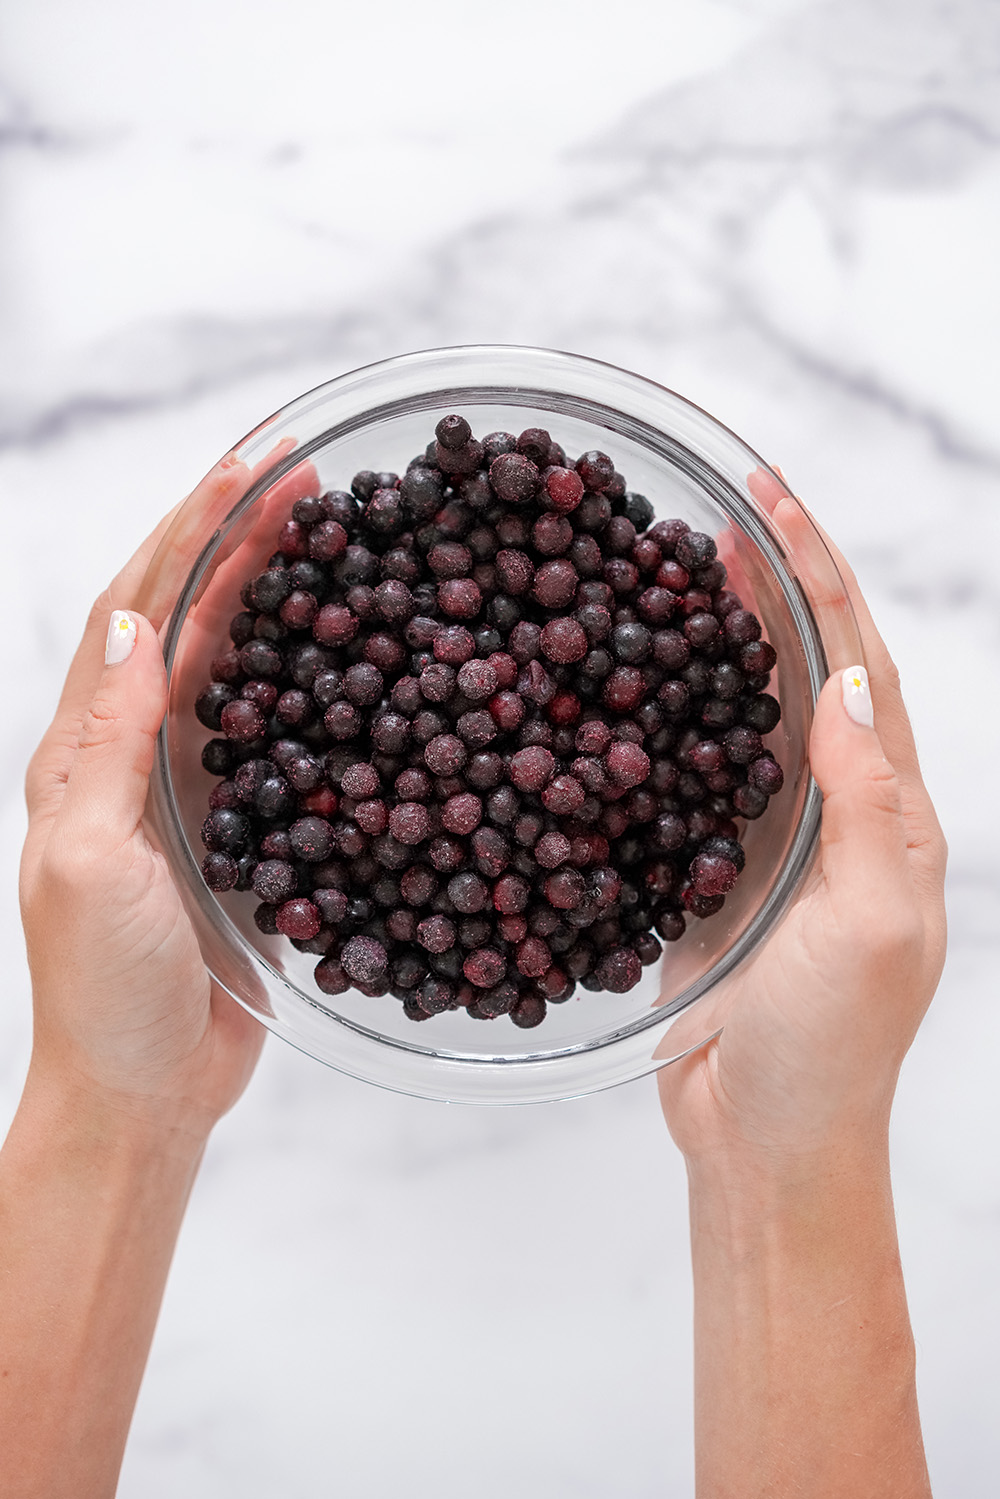
3. Buy frozen organic berries
Another freezer favourite! I try to get organic berries where possible, but often they’re not always available or they’re not in season and therefore super expensive! The advantage of buying them frozen is they’re freezed at their peak ripeness. This means they often taste better, depending on where you live, they’re more affordable and they’re not going to go bad and get moldy in the fridge. Serve to your baby by either letting them thaw or by warming them up on the stove.They’re great in/ on pancakes and stirred into oatmeal!
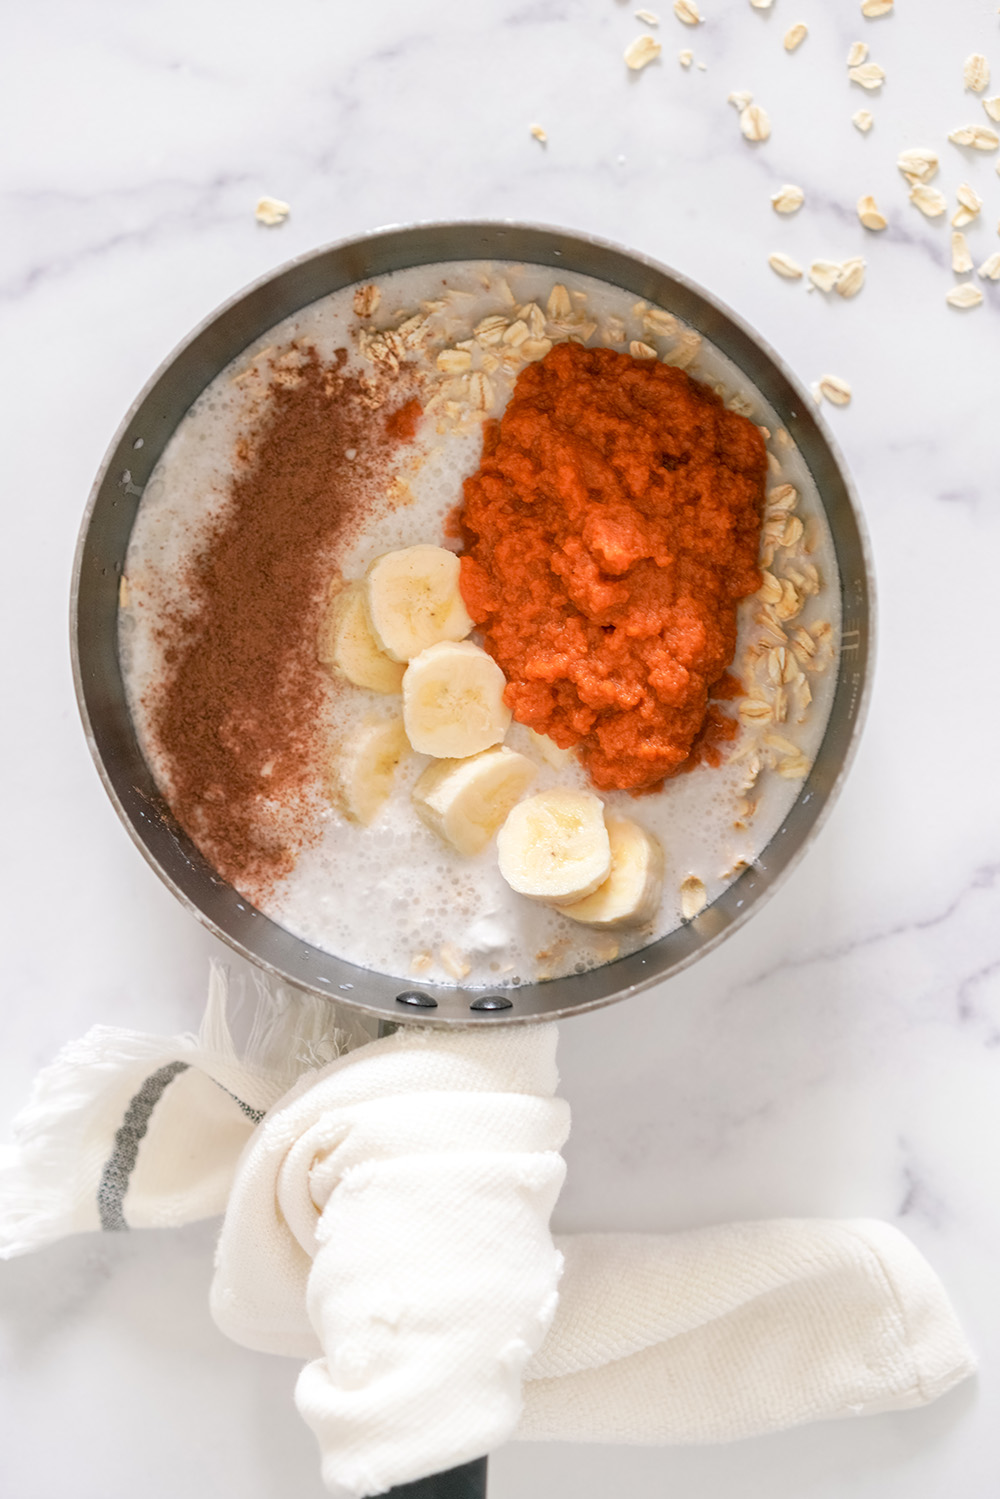
4. Add veggies to both sweet AND savoury food
When it comes to foods like oatmeal, you might assume you can only add fruit. But adding veggies is a great way to get extra nutrients into your little one’s breakfast. I love adding pumpkin puree to oatmeal, as well as shredded carrot. You could even get creative and add shredded zucchini! Greens blended up into pancakes and chopped into scrambled eggs are also some of Sage’s favourites. Think outside the box – babies don’t have that association with what meals ‘should’ contain veggies, so you can get away with combinations that you may not have thought of before.
5. Simple baby snack swaps
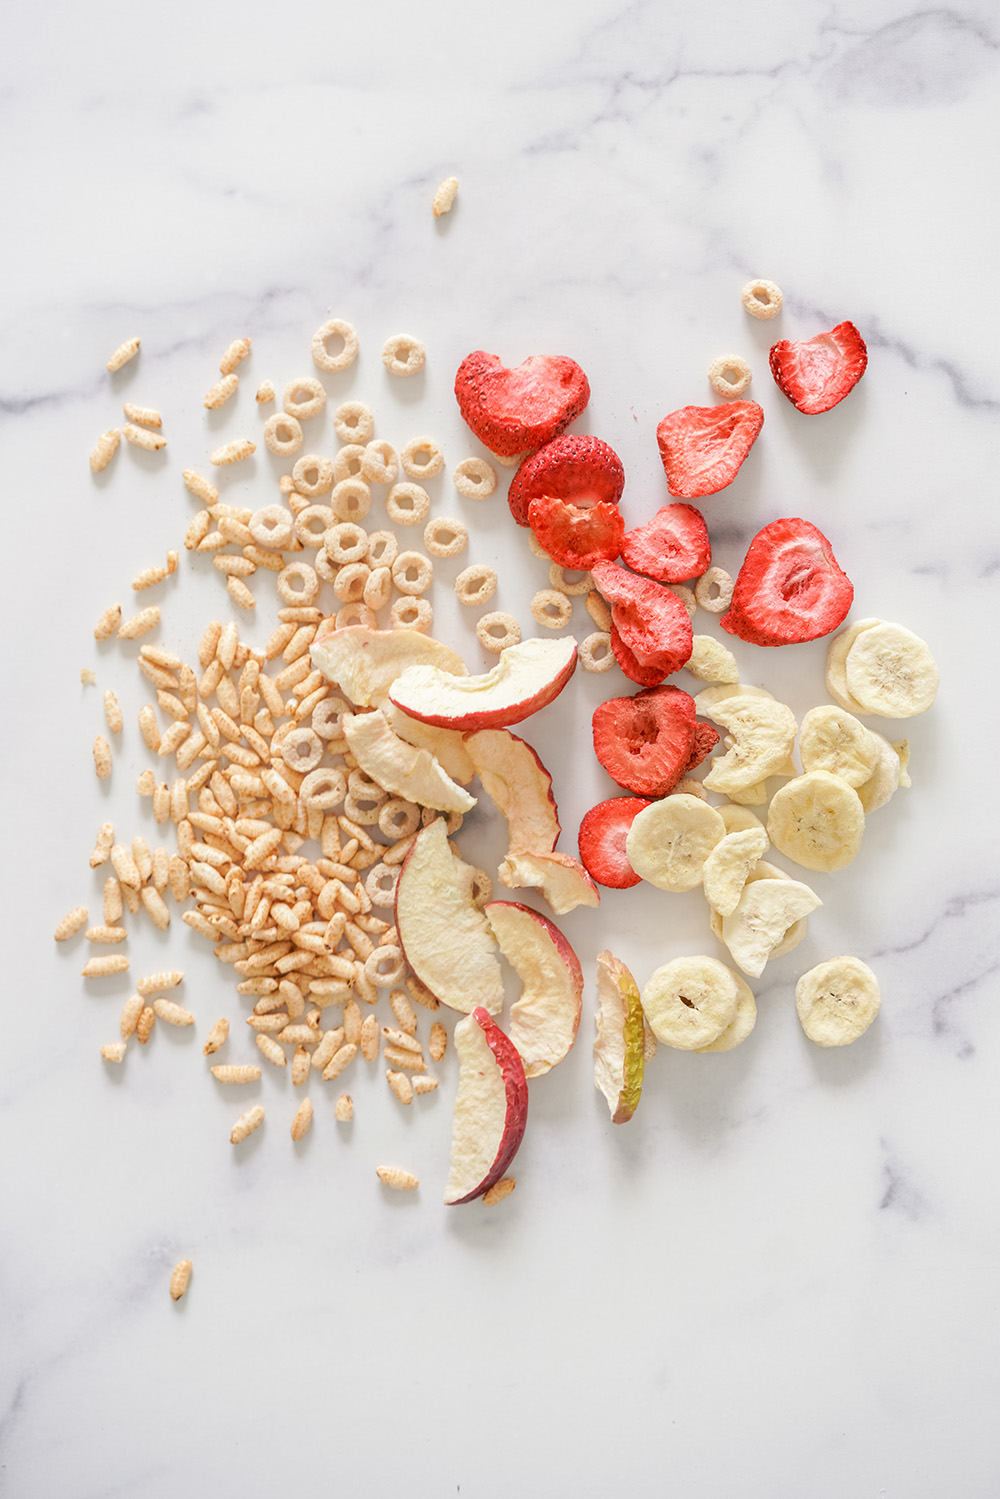
Baby snacks that you can buy at the grocery store can be SO expensive! A fun little dupe is giving your little one things like freeze dried fruits and puffed grains such as puffed brown rice and Kamut that aren’t specifically for kids but they work just as well. These cheerios are great because they don’t have any added sugar and are a great finger food crunchy snack. Sage loves freeze dried strawberries and apples, and actually it’s a safer way to eat foods like apples since they’re usually quite hard and a choking hazard.
6. Cooling down hot baby food
There’s nothing more annoying than when your baby is freaking out because they’re hungry, you’ve cooked up some food for them, but it’s still cooling. I’ve got a couple of tricks to help cool food down quicker. You could add frozen berries. These will melt down into the food and cool it down, while also adding in some extra nutrients. You could also add a splash of nut or oat milk straight out of the fridge to help cool things down.
7. Steam roast your root vegetables
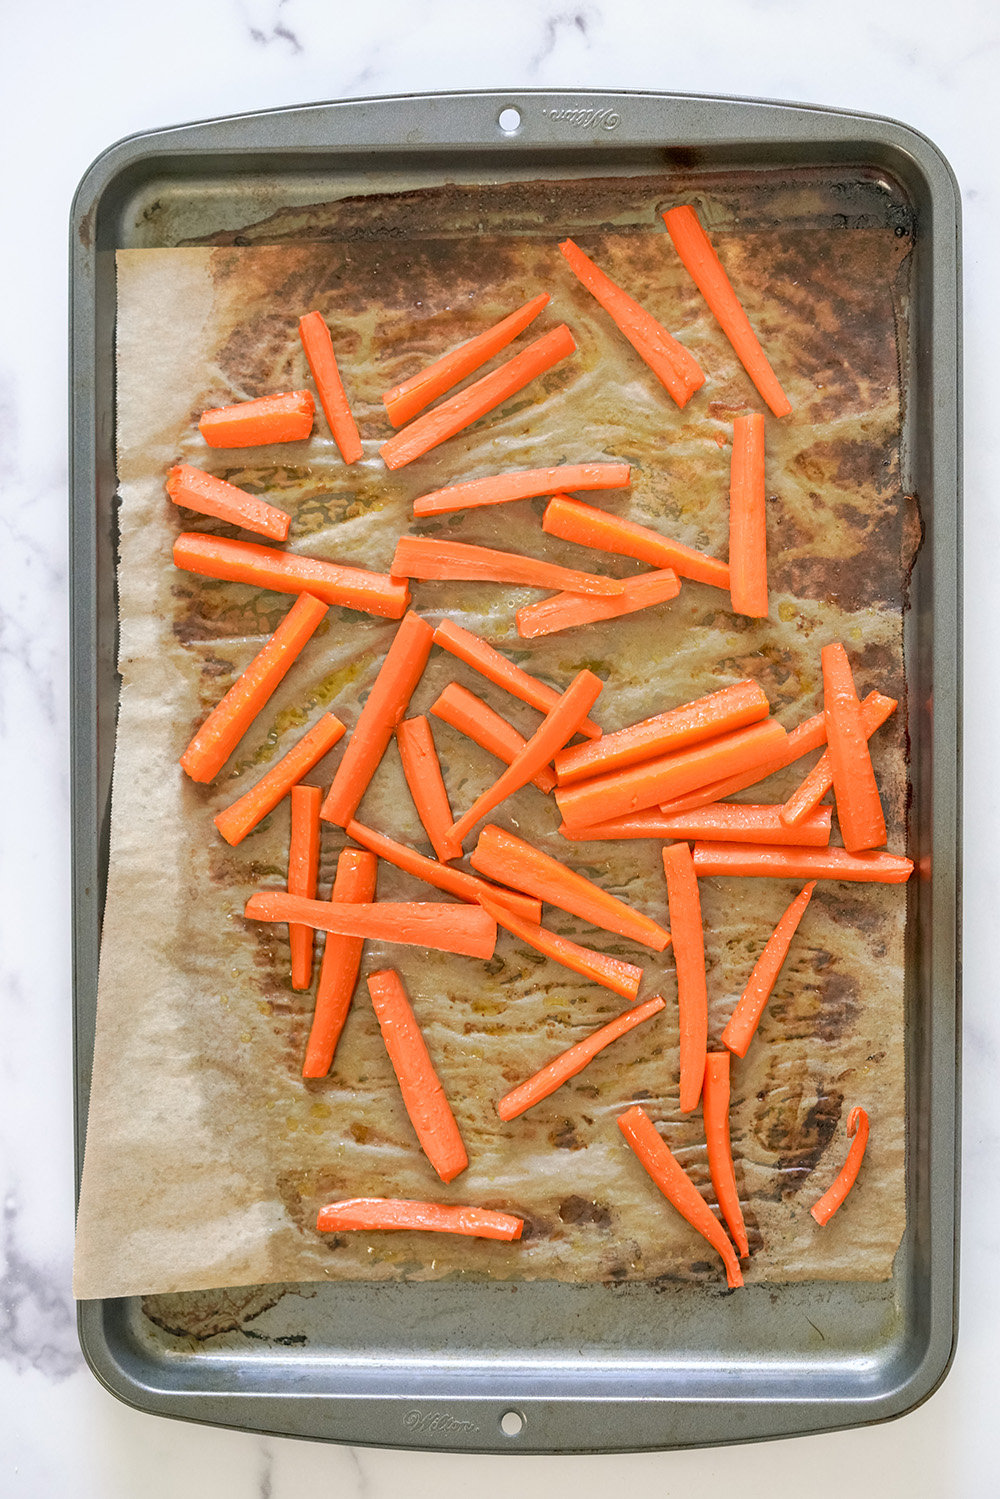
I talked about this in my 6-8 month meal prep post. Steam roasting is a great way to add that roasted flavour to your baby’s food, but to not overdry it. I found when I just roasted things like carrots they got way too dehydrated and thick, and it actually cause constipation with Sage. To steam roast, (massage with oil or unsalted butter if using) simply pour water over your veggies and cover them with foil or parchment paper before putting them in the oven! You’ll still get that roasted flavour but your veggies won’t dry out.
8. Nature’s food teether
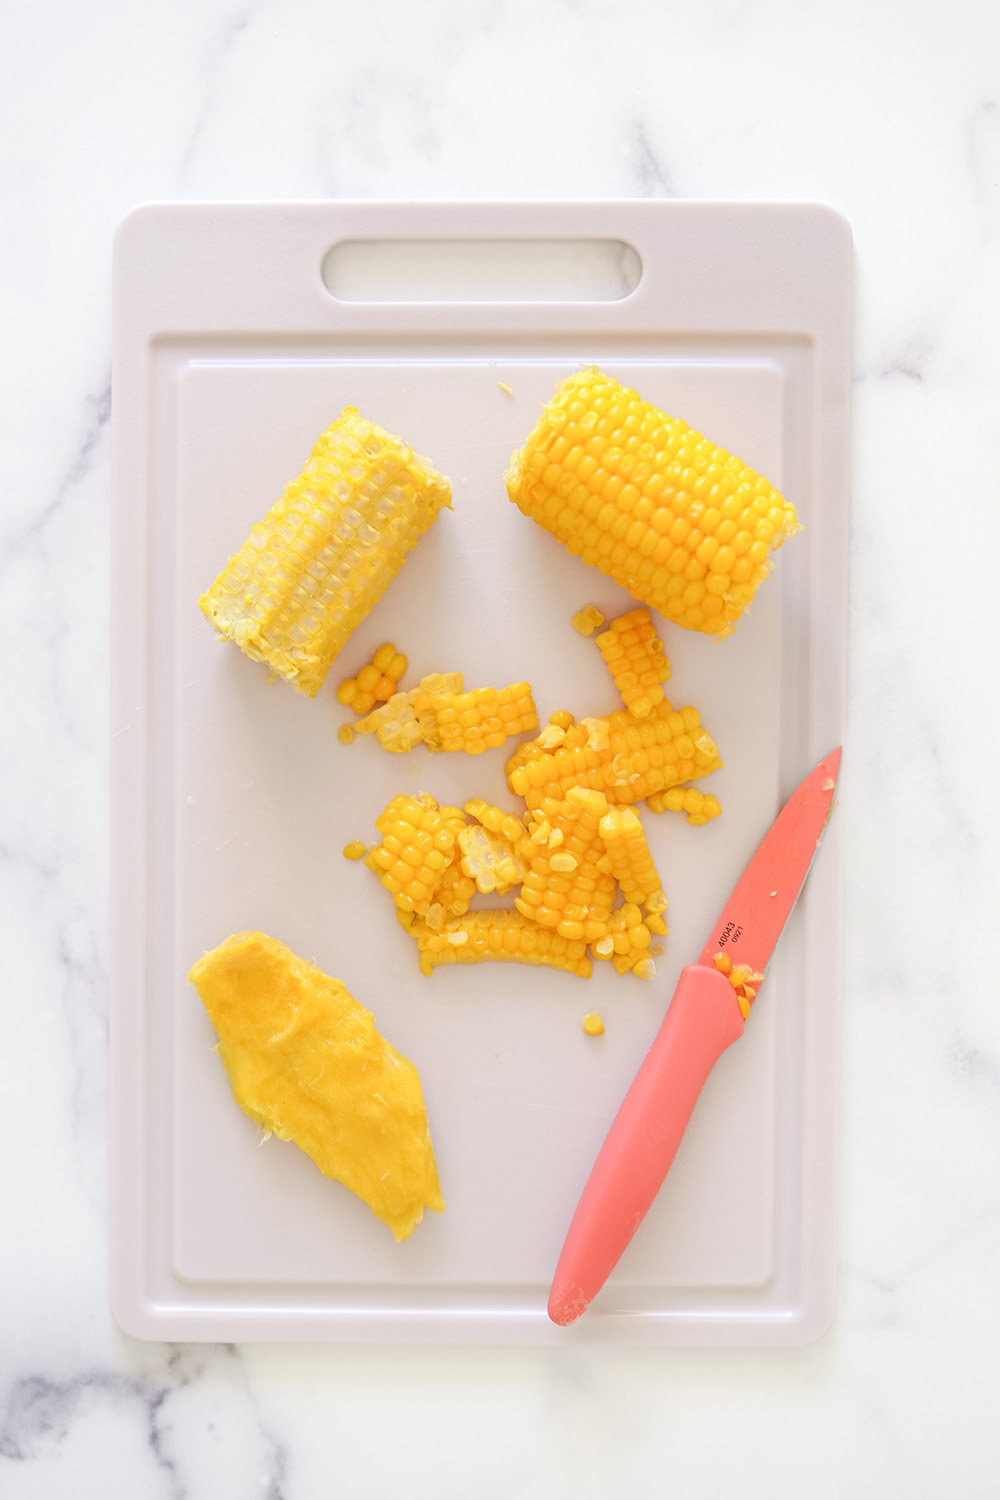
I used corn on the cob all the time as a teether for Sage when she was little. I’d just cut the kernels half way off of the cob so that it wasn’t a choking hazard and she used to love gnawing on it. You could even put it in the fridge for some cooling relief too. The other one we used to use a lot was a mango pit with most of the meat removed and it was a great option as well.
9. Grate harder fruits and veggies
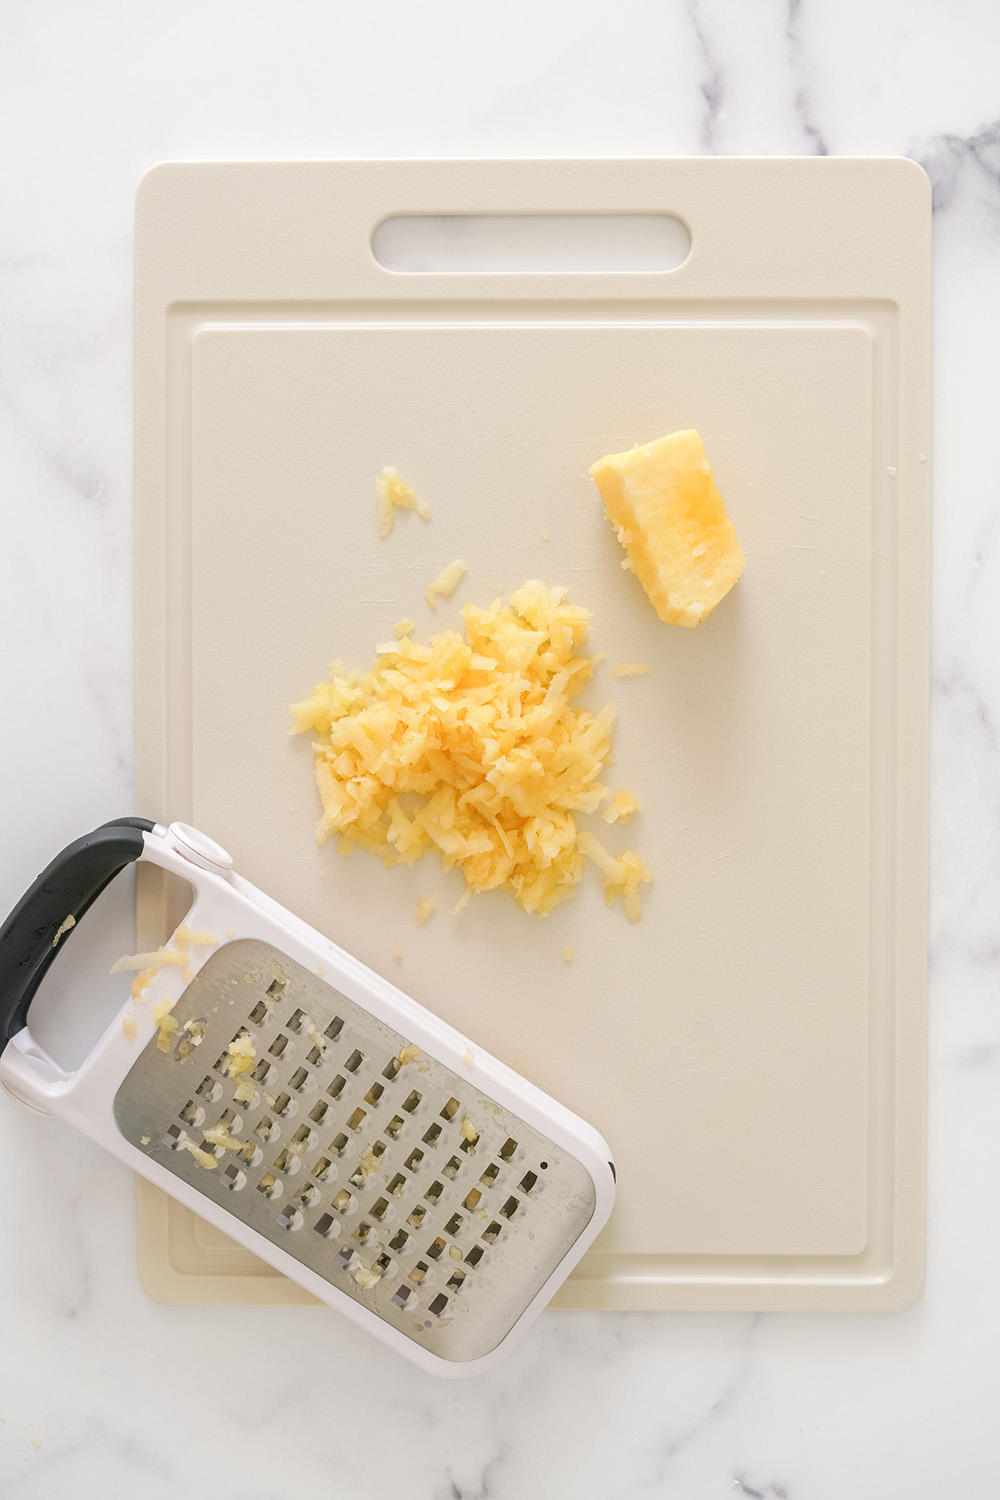
For foods like carrots, apples and even cucumbers or zucchini that might be a little too hard for your baby in the beginning, you can actually just use a grater. The shreds are much softer and smaller for your little one to eat, and because they’re so thin once they gum on it a little bit they kind of just dissolve. You can even shred carrot or apple right into oatmeal or a meat sauce for pasta.
10. Cook in a cast iron pan
Babies’ iron needs increase at around 6 months, which is one of the reasons health professionals recommend introducing solids at this point. Obviously do your own research with this – I took an amazing baby food e-course (use code SAGEEATS for 15% off!) which was honestly a game changer for me. A trick for increasing your baby’s iron intake is to cook in an iron skillet. When you cook in an iron skillet it actually adds iron to your food without you having to even think about it! They also last for years and are great non toxic cookware.
So that’s my top ten baby food hacks! I’m always on the lookout for more tips and tricks, so please do let me know your baby food hacks in the comments below!
If you’re looking for more baby food content, be sure to check out my ultimate guide to introducing your baby to solids!





Leave a comment